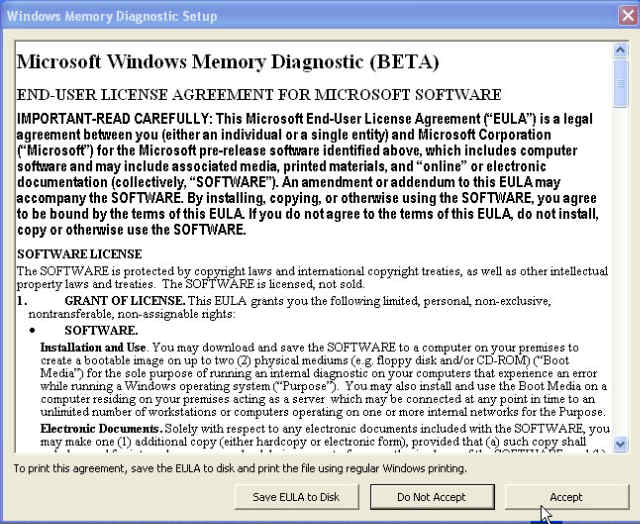
3. Read the End User License Agreement (EULA) and click Accept (provided you find the terms acceptable)

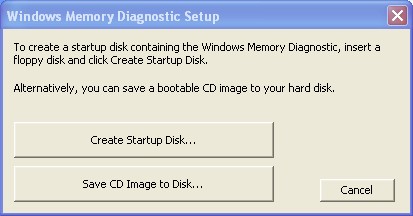
4. Choose whether to install it on a floppy (recommended) or write it to a CD.
a. If you install it to a floppy, click 'Create Startup Disk'

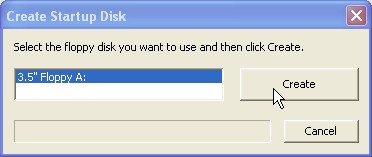
i. Insert the floppy, choose the floppy drive, and click 'Write'

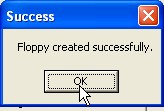
ii. When it finishes, click OK

b. If you want it on a bootable CD, click to save the image to your computer. You will have to use CD writing software such as Nero to write this to a blank CD. See your manual for instructions.

5. Now, make sure the floppy or CD is in the drive, save all of your work, and restart.
6. Your computer will probably boot into the memory diagnostic, but you may have to enter CMOS Setup (BIOS) to change the boot order so that you boot from the floppy or CD drive before the hard drive.

7. Allow the diagnostic to run for at least 1 pass (6 tests). When you are done, simply press X to restart your computer and take out the floppy or CD.
